# Activate payment
First, you need to open your own payment account information on the Stripe official website:
[https://stripe.com/](https://stripe.com/)
After registering, you can obtain Stripe’s key information:
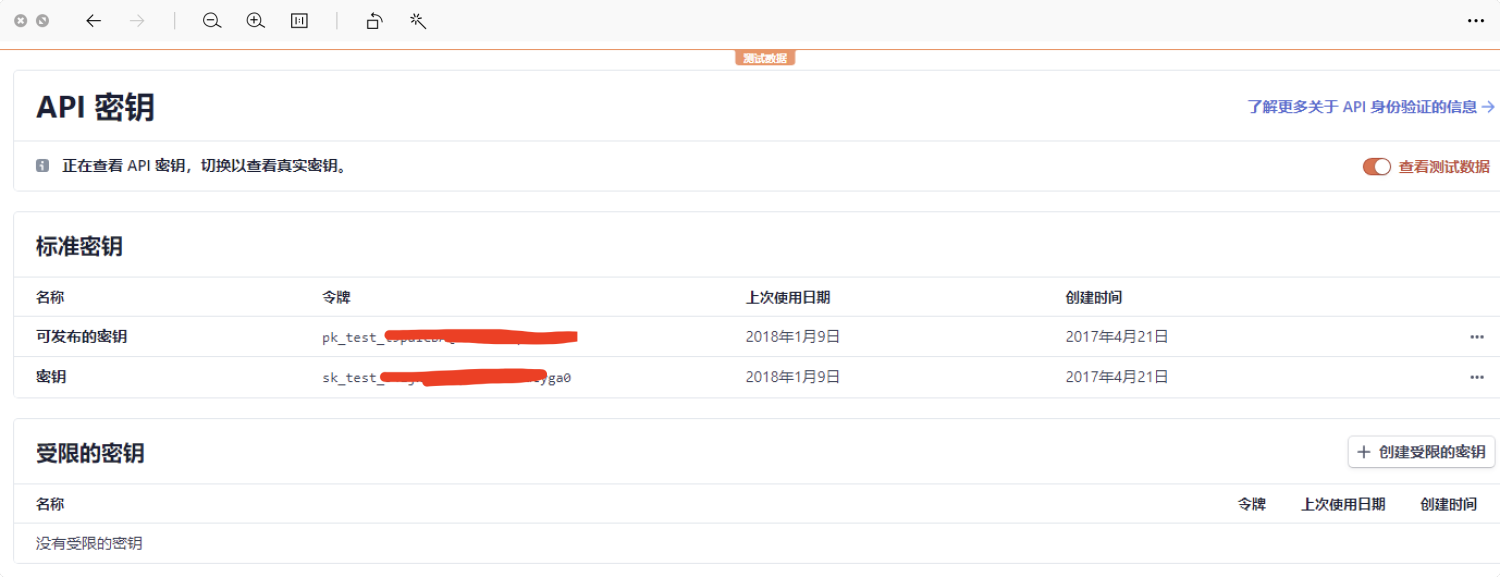
The key mainly contains two parts, the releasable key + the secret key
At the same time, you need to find the corresponding currency symbol for your transaction (currency):
[https://stripe.com/docs/currencies](https://stripe.com/docs/currencies)
For example:
+ USDUSD+ RMBJPY+ Singapore DollarSGD
# Configure payment success notification
Stripe recommends using stripe's own webhook to monitor the URL callback address corresponding to each status of the entire payment.
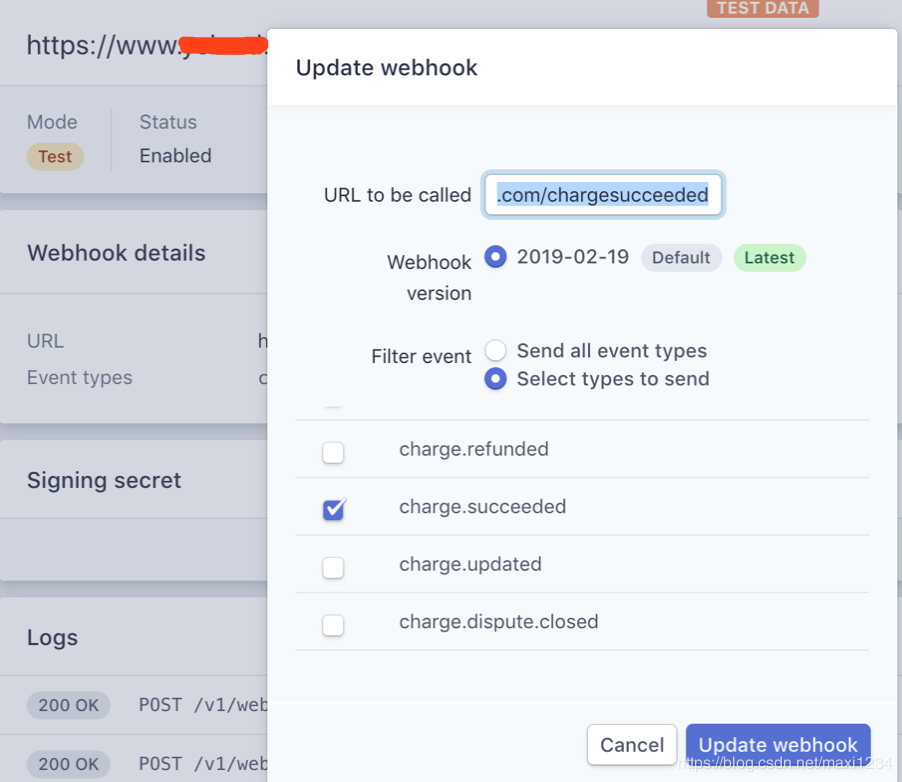
Notification address, please fill in:
```json
https://api.it120.cc/{domain}/pay/stripe/payBack
```
Please replace {domain} with your own exclusive domain name. For example, if your exclusive domain name is abc, then the notification address is:https://api.it120.cc/abc/pay/stripe/payBack# Configure payment
## Enable online payment module
Log in to the "api" factory background, go to the left menu, "Factory settings" --> "Module management", find the "Online Payment" module, click to enable it, refresh the webpage with F5 and you will see the "Online Payment" menu under the left menu "System Settings"
Click the "Online Payment" menu, find the "Stripe Payment" tab, click Settings, and fill in the above stepsPublishable keys, keys, currency symbolsinformation to complete the configuration.
## H5 payment address
Just jump directly to the cashier of `stripe`. The reference code for jumping to the cashier is as follows:
```html
pay with stripe
Payment successful
```
[stripe.zip](https://www.yuque.com/attachments/yuque/0/2024/zip/572726/1725152516449-a5043ed8-37dd-460f-8ae4-3aa5ccd6baf1.zip)
## How to obtain stripeToken
[https://stripe.com/docs/stripe-js/react](https://stripe.com/docs/stripe-js/react)
[https://stripe.com/docs/libraries/stripejs-esmodule#web-stripejs-html](https://stripe.com/docs/libraries/stripejs-esmodule#web-stripejs-html)
For details, see the official tutorial above to build a form on an h5 page and pass
```javascript
stripe.createToken(elements[0], additionalData).then(function(result) {
// Stop loading!
example.classList.remove('submitting');
if (result.token) {
//This method calls back stripeToken
// If we received a token, show the token ID.
// example.querySelector('.token').innerText = result.token.id;
// example.classList.add('submitted');
} else {
// Otherwise, un-disable inputs.
enableInputs();
}
});
```
# Mini program payment
Because the mini program cannot jump to the H5 page, it cannot directly jump to Stripe's checkout to make payment.
(Even if you use webview to load web pages, it will not work, because the domain name of webview needs to be added to the business domain name, and adding the business domain name requires placing the verification file on the server)
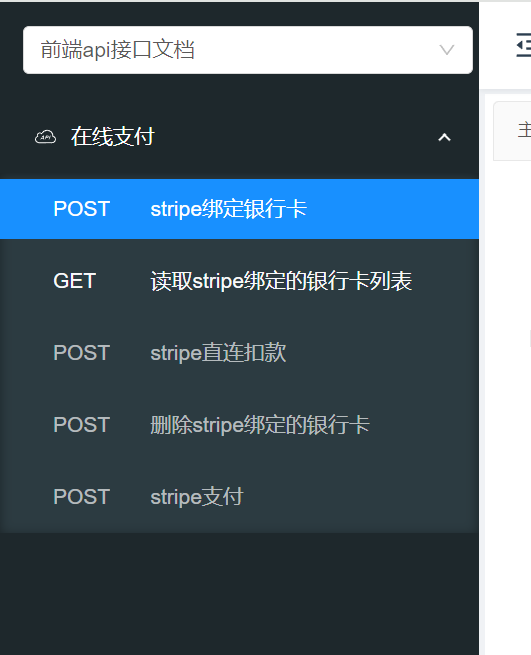
Stripe provides a direct connection method for deduction. It first guides the user to bind a credit card, and then calls the deduction interface to perform deduction.
For specific interfaces, refer to Frontend API docs: [#](#)
Search in the upper right corner: Stripe
# Test payment
Stripe provides both test keys and official keys. When testing, please fill in the test key information in the "apifm"
In a test environment, you can use these test credit card numbers to complete payments:
[https://stripe.com/docs/testing](https://stripe.com/docs/testing)