# Preface
This tutorial is based on the "apifm-wxapi" module and teaches you how to quickly implement small program development, so you may need to understand the following knowledge points first:
["Creating HelloWorld Project"](https://www.yuque.com/apifm/doc/hezlrm)
["Use "apifm-wxapi" to quickly develop small programs"](https://www.yuque.com/apifm/doc/mdldsd)
["Register for free to open the backend and obtain an exclusive domain name"](https://www.yuque.com/apifm/doc/qr6l4m)
# Function description
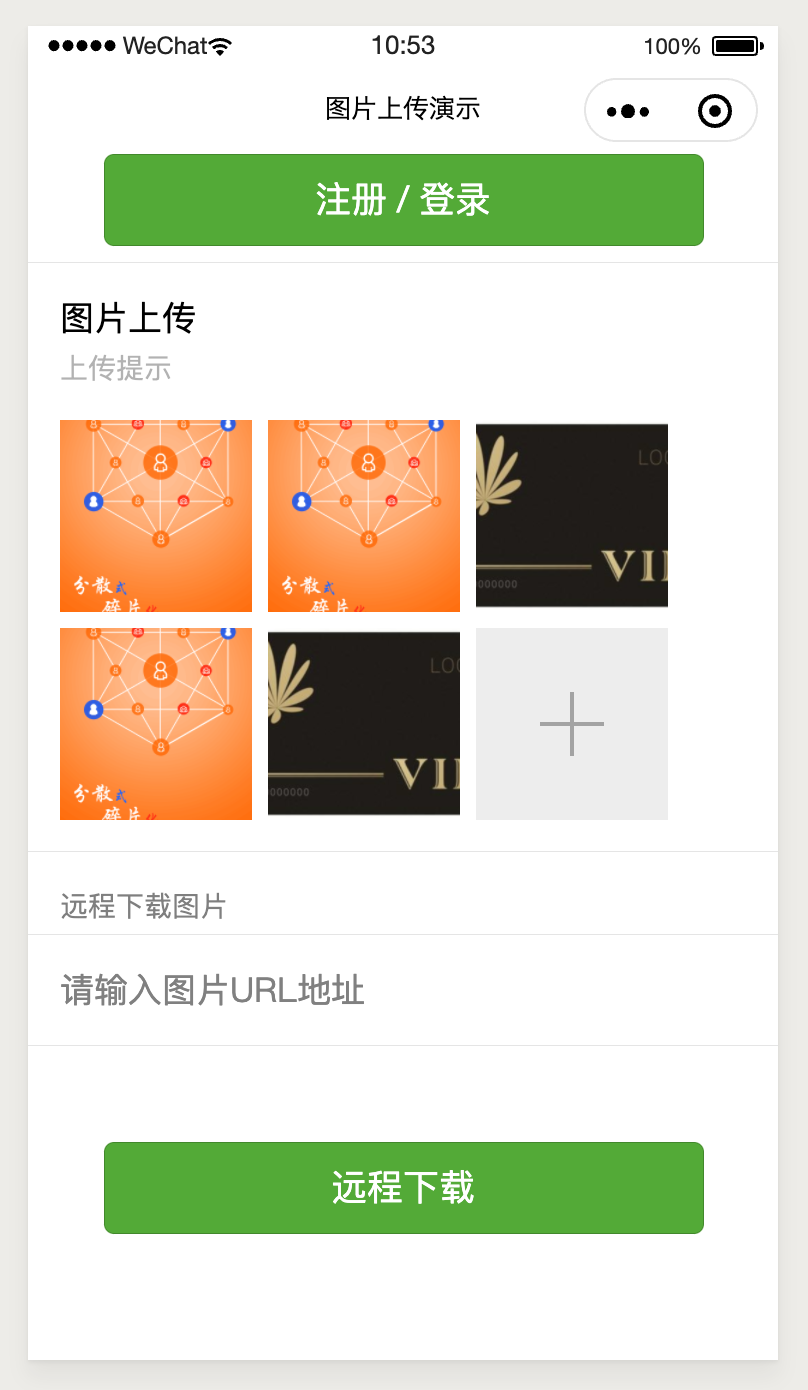
For the convenience of demonstration, this case only has the upload function of style image files;
Upload local pictures (photo album, call camera to take pictures) to the server;
Download remote pictures (fill in the picture URL address) to the server;
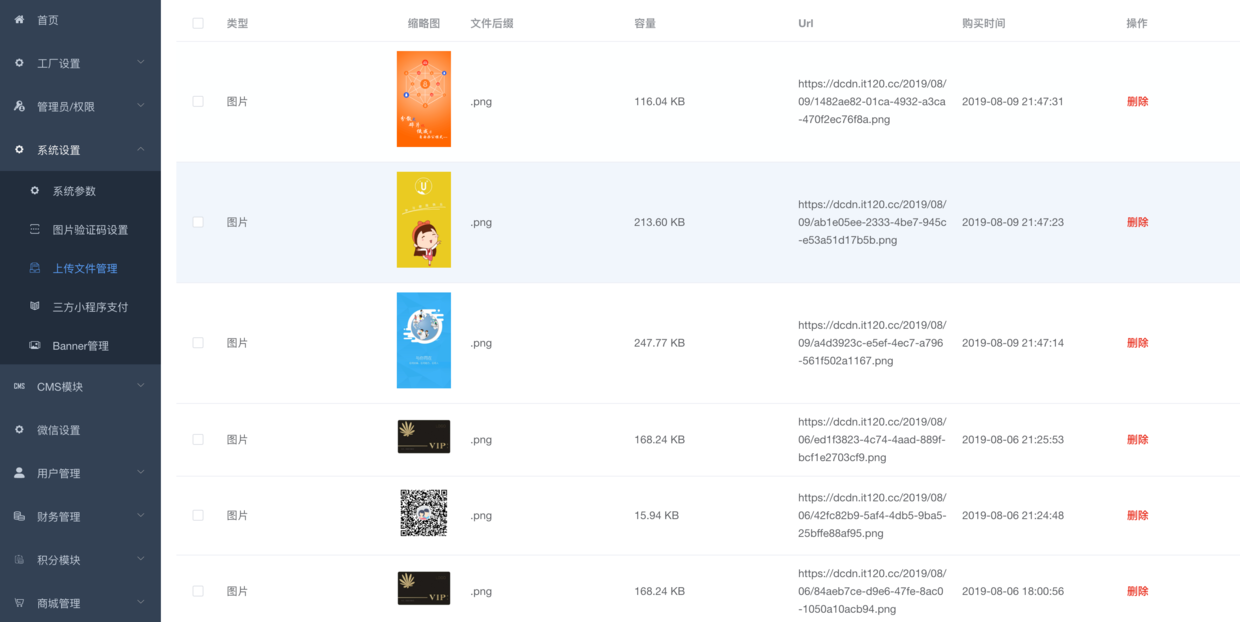
Read the server file management list through the interface;
_The function of realizing simple cloud disk can be realized_
# Mini program implementation
## Effect demonstration
## wxml code
```plain
Image uploadUpload tipsDownload pictures remotely```
## js code
```plain
const WXAPI = require('apifm-wxapi')
WXAPI.init('gooking')
Page({
data: {
piclists: undefined // List of files on the server
},
onLoad: function (options) {
},
onShow: function () {
this.uploadFileList()
},
goRegist() {
wx.navigateTo({
url: '/pages/auth/index'
})
},
urlChange(e){
this.data.url = e.detail.value
},
uploadFileList(){
wx.showLoading({
title: 'Loading',
})
WXAPI.uploadFileList().then(res => {
wx.hideLoading()
console.log(res)
if (res.code == 0){
this.setData({
piclists: res.data
})
}
})
},
chooseImage: function (e) {
const loginToken = wx.getStorageSync('loginToken')
if (!loginToken) {
wx.showToast({
title: 'Please log in first',
icon: 'none'
})
return
}
const _this = this;
wx.chooseImage({
sizeType: ['original', 'compressed'], // You can specify whether it is the original image or the compressed image, and both are available by default.
sourceType: ['album', 'camera'], // You can specify whether the source is an album or a camera, both are available by default
count: 1, // Maximum number of pictures to select
success: function (res) {
// Return the local file path list of the selected photo. tempFilePath can be used as the src attribute of the img tag to display the image.
console.log(res)
WXAPI.uploadFile(loginToken.token, res.tempFilePaths[0]).then(_res => {
console.log(_res)
_this.uploadFileList()
})
}
})
},
uploadFileFromUrl(){
if (!this.data.url) {
wx.showToast({
title: 'Address cannot be empty',
icon: 'none'
})
return
}
WXAPI.uploadFileFromUrl(this.data.url, '.png').then(res => {
console.log(res)
this.setData({
url: null
})
this.uploadFileList()
})
},
previewImage: function (e) {
wx.previewImage({
current: e.currentTarget.id, //http link currently displaying the image
urls: this.data.files // List of image http links that need to be previewed
})
}
})
```
> WXAPI.init('gooking') This code links your mini program to your backend, where gooking is your exclusive domain name (please check the chapter about exclusive domain names in the preface);
>
# Manageable files (pictures) in the background
# Summary
This case mainly uses the following three methods of apifm-wxapi:
```plain
WXAPI.uploadFile(token, tempFilePath)
WXAPI.uploadFileFromUrl(remoteFileUrl, ext)
WXAPI.uploadFileList(path)
```
_More usage methods about apifm-wxapi: _
["apifm-wxapi Instructions for Use"](https://github.com/gooking/apifm-wxapi/blob/master/instructions.md)
_Download the Demo code of this case: _
["apifm-wxapi using Demo program"](https://github.com/gooking/apifm-wxapi-demo)
# Expand
Based on the above methods and background, parents and children try to implement a simple network disk applet for personal interaction and share it with everyone.
Looking forward to your progress!
grateful!